
Logging into Axx Chat
- Open your browser and navigate to the Axx Chat Login Page: https://axxchat.axxessnetworks.com/
- Enter your Portal Login credentials and click Log In.
Conversations
Select the Conversations Tab

Conversation Screen
- From the Conversation Screen, you can continue any current conversations listed on the left-hand side or start new conversations.
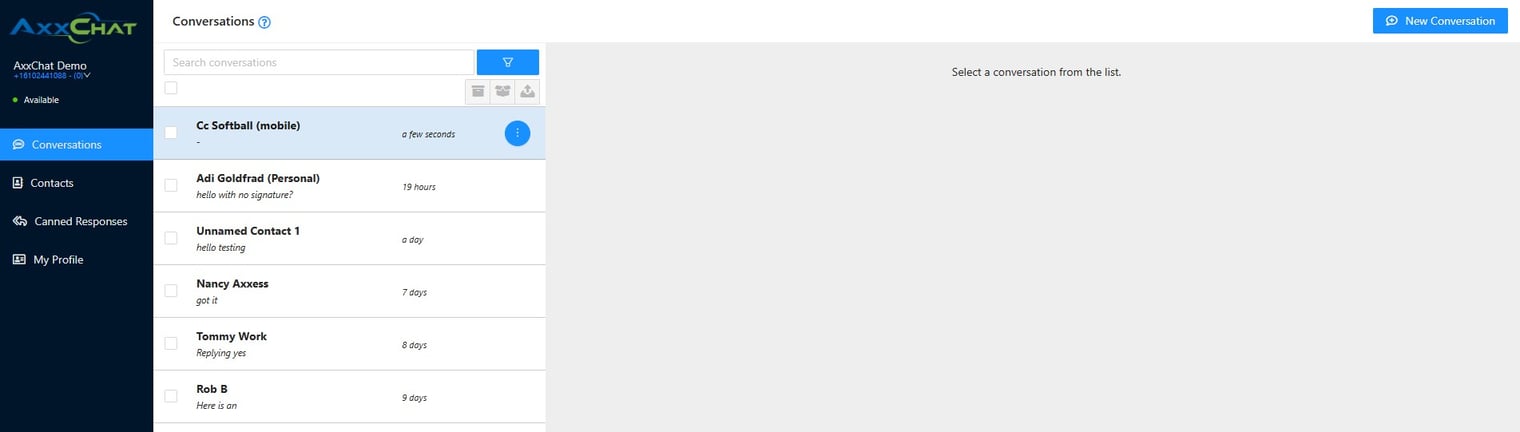
To Start A New Coversation
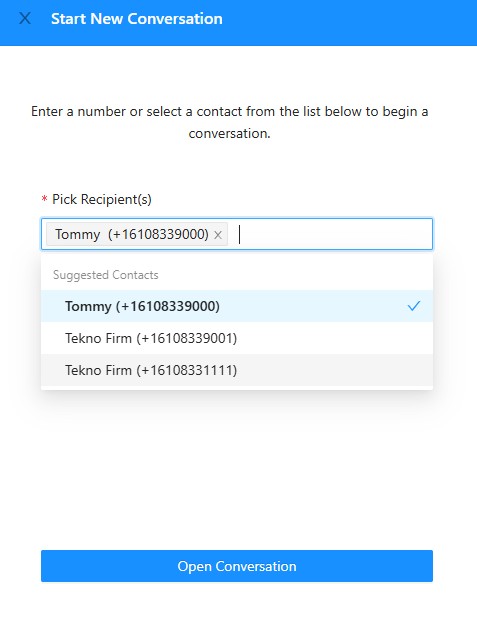
- Click New Conversation in the top right corner
- Enter the phone number or select a contact from the drop-down list.
- Click the Open Conversation button.
Sending Attachments
In a chat these are the available file types
Images - png, jpg, jpeg, gif
Videos - mp4
Audio - amr, wav, x-wav, mpeg, aac, flac, oog, mp3
Contacts
Select the Contacts Tab

Contact Screen
Go to the Contact Screen to view your current contacts and to Edit Contacts.

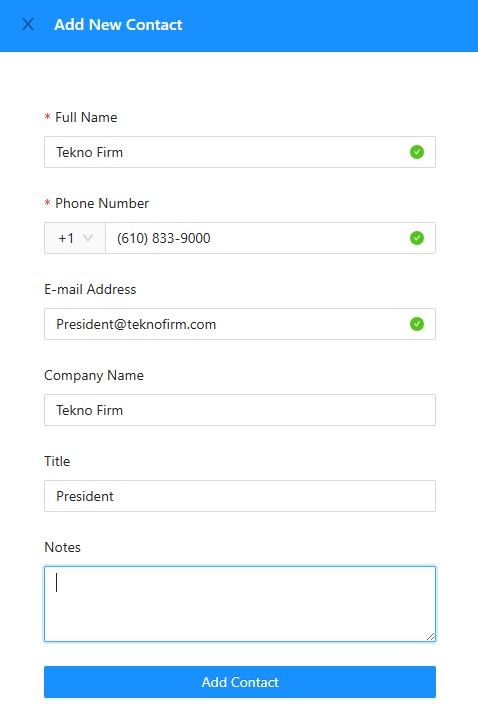
To Add Contacts
- Select the New Contact Button
- Fill in the contact information in the provided fields
- Click Add Contact to officially add the contact
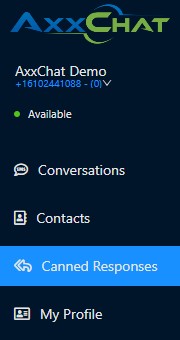
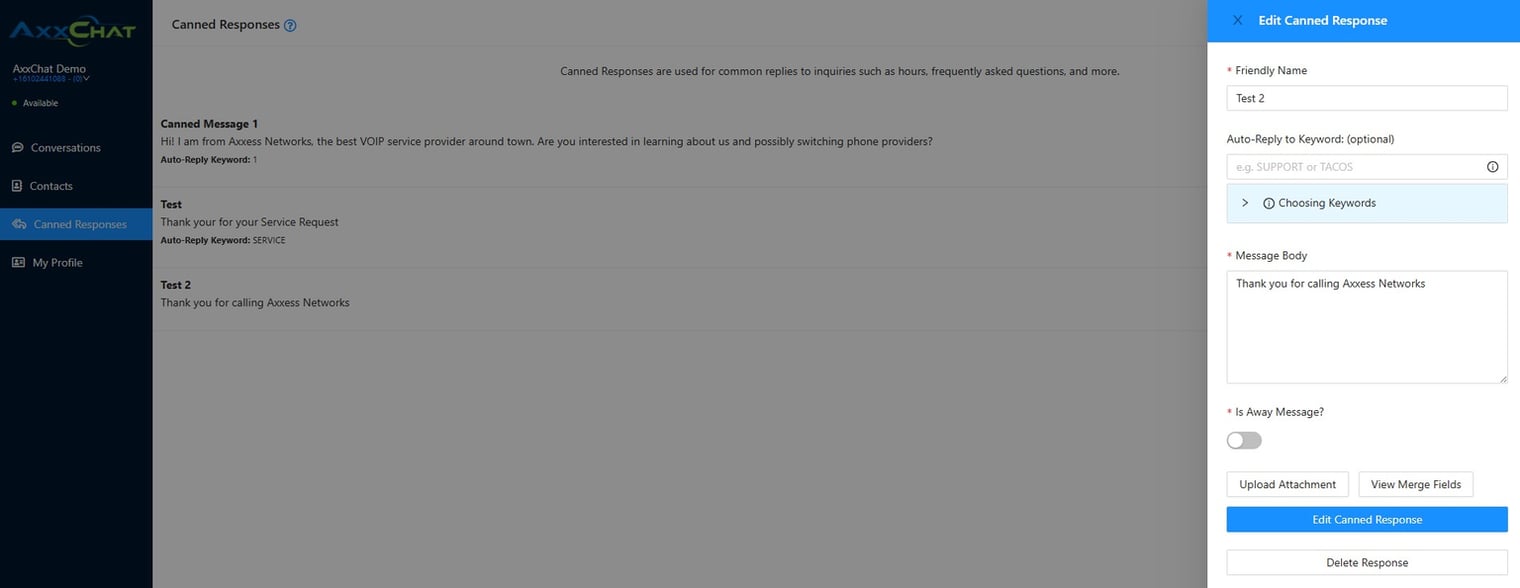
Canned Responses
Select the Contacts Tab

Canned Response Screen
Go to the Canned Response Screen to view, edit, or add responses.
Add New Responses
- To create a new response, click the Add New Response button.
- A Response Window will appear.
- Enter your new Canned Response in the text field.
- Click Save to add it to your list of responses.
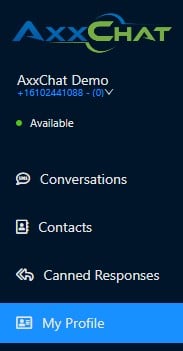
My Profile
Select the My Profile Tab

Open the My Profile screen
- Under the Account Detail tab, update your user information as needed.
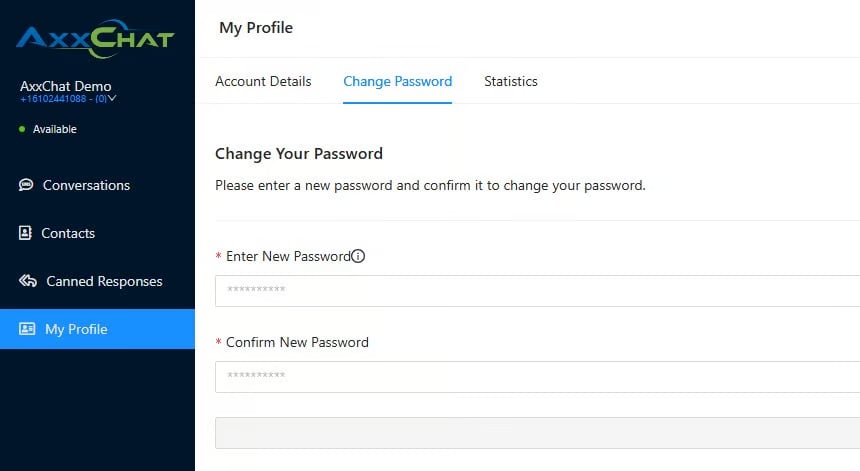
To change your password
- Select the Change Password tab.
- Enter your new password and confirm it.
- Click Save.
To View Statistics
- Select the Statistics tab.
- Check your Address Book and Loaded Contacts statistics.

Blast
Overview
Blasts are a great way to send the same message out to a list of contacts, often used for marketing, staff alerts and organization notification systems.
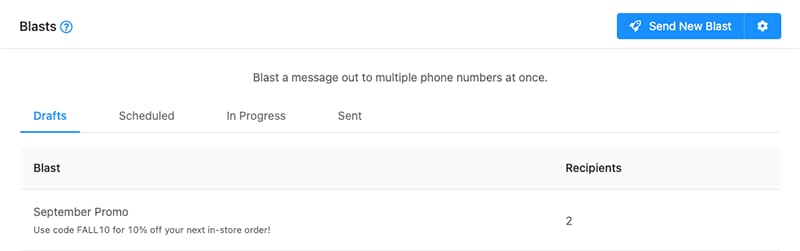
Creating / Editing a Blast
Click "Send New Blast" button on the top right of the screen. Complete all required fields, as denoted by a red asterisk. Click "Save Blast" to save or schedule your blast.
Blast Statuses:
Draft - This will save the blast in a draft state, allowing you to come back and edit it before sending or scheduling in the future.
Send Now - This will queue the blast up to be sent in the next several minutes. Schedule- This option will allow you to choose a timezone, date and time to send the blast.
Compliance Footer
The Compliance Footer will automatically be appended to the message body. It is recommended that your compliance footer includes identifying information about the sender, a brief explanation as to why you are contacting them (e.g. to discuss order details, appointments, etc.), and how they can opt-out from receiving future communications (e.g. Reply STOP to unsubscribe.).
Note
We currently utilize a simple time-based queueing system to send out blasts. Users and account types have varying limitations on the volume at which they can send / accept messages in bulk. If you experience deliverability issues with blasts, please consider your carrier limitations and plan your blasts accordingly.
Deleting a Blast
- You can delete blasts that are in Draft or Scheduled status. First, select blast that you would like to delete from either the Draft of Scheduled tab.
- Next, scroll to the bottom of the edit blast drawer. Click "Delete Blast" to open the confirmation prompt.
- Click "OK" to confirm deletion of the blast.
Best Practices
- You should always obtain proper opt-in before sending out marketing campaigns to contacts.
- Identifying your brand and an opt-out option in the compliance footer helps to build trust with your recipients.
- Be mindful of the length and content of your message.
- Avoid content that might be considered spammy.
- Try to avoid using URL shorteners as receiving carriers often block links from popular services like bit.ly or goo.gl.
- When sending a high volume of messages, it is recommended that you register a campaign and brand with The Campaign Registry
- Do not send messages related to S.H.A.F.T. (Sex, Hate, Alcohol, Firearms, Tobacco--including cannabis)
Reminder
Overview
Create reminders to send scheduled messages to individual contacts.

Tip
Dates that have messages scheduled have a blue dot identifier above the day number.
Creating a Reminder
- Choose the date on the calendar for which you would like to schedule the reminder.
- Click "Create Reminder"
- Select a contact as a recipient.
- Select a timezone and time at which to send the message.
- Enter your message.
- Click "Save"
Editing a Reminder
- Choose the date on the calendar for which the reminder is scheduled for. This will pull up a list of reminders for that date on the right hand side.
- Choose the date on the calendar for which the reminder is scheduled for. This will pull up a list of reminders for that date on the right hand side.
- Click the reminder that you would like to edit.
- Edit the desired fields.
- Click "Update"
Drip Campaign
Overview
Drip campaigns allow you to apply a scheduled set of messages to a contact based on intervals of your choosing. Any replies received from the contact will break any future drips that have not yet been sent.
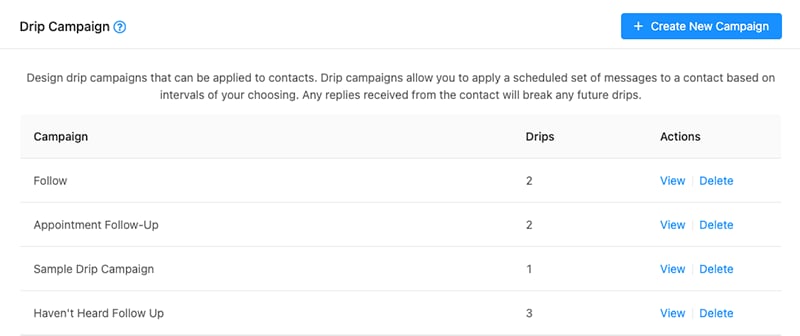
Creating / Editing a Drip Campaign
To create a new drip campaign, click the "Create New Campaign" button on the top right of the screen.
To edit an existing drip campaign, locate the drip campaign that you would like to edit from the list and click the "View" link under the "Actions" column to open the edit drawer.
Tip
We recommend setting the campaign name to something that will easily allow you to identify the campaign and it's contents when applying the campaign.
To add a drip to a campaign, click the "Add Drips" button to add a row. Enter the drip campaign message into the textarea and then select your drip campaigns interval, calculating it from time of application.
Tip
We recommend that you allow at least one day in between each drip interval to prevent your contact from becoming annoyed and opting-out of your message.
When you are done editing the campaign and individual drips, remember to click the "Save" button on the bottom right of the drawer to save your changes.
Deleting a Drip Campaign
- Locate the drip campaign that you would like to delete from the list.
- Click the "Delete" link under the "Actions" column. You will be prompted to confirm deletion of the campaign.
- Click "OK" to confirm deletion.
Plans & Pricing
| Plan | Pricing | Whats Included |
| Basic | $2.99 |
|
| Pro | $6.99 |
|
Note!
Messages can be shared across multiple users, with flexible add-on options. Additional messages start at just $0.01 Per credit, and volume pricing is available for high-usage businesses.