
This article acquaints you with the features that Axx Omni Web Chat provides and the steps you need to take to start using Web Chat, involves creating your team, configuring the features you want to use, customizing the look and feel of the Web Chat window, so it looks good on your website, and then adding the chat widget to your website once you are ready.
Step 1. Log in to The Control Panel
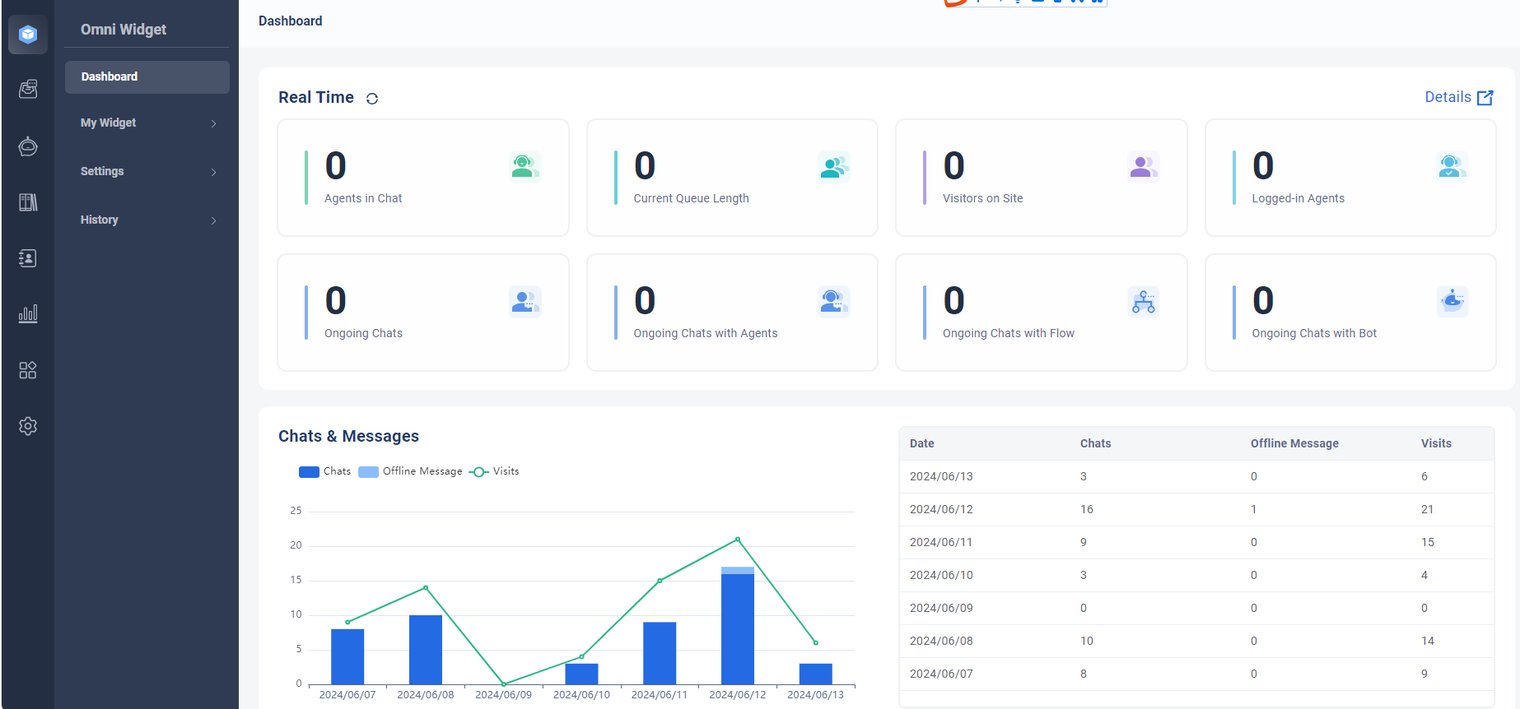
After your account is set up, log in to the AXXESS Control Panel. Upon logging in, the Real-time Dashboard will be displayed.
Step 2. Add Agents, Set up Your Chat Queues
Once your agents and queues are set up, youʼre ready to start accepting chats and take advantage of the features and settings youʼve just configured.
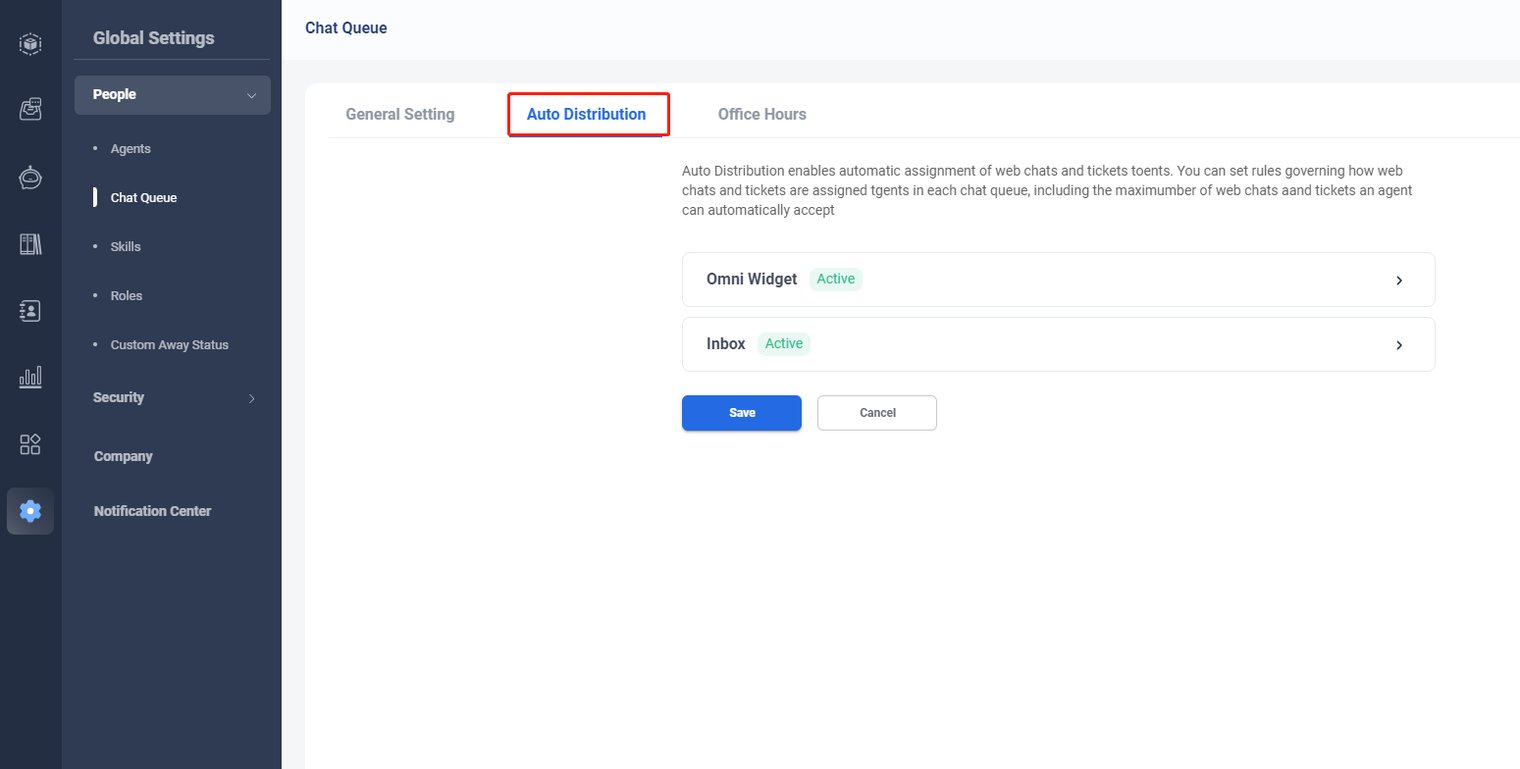
Explore the People menu to learn how to add and manage these key components:
- Agents: The representatives who interact directly with your visitors, serving as the friendly and knowledgeable face of your organization.
- Chat Queues: Dedicated groups that represent specific business units or functions. Create multiple queues to organize agents by their roles and responsibilities for efficient chat routing.
- Chat Queues: Dedicated groups that represent specific business units or functions. Create multiple queues to organize agents by their roles and responsibilities for efficient chat routing.
Once youʼve configured your widget, set up your web chat preferences, and finalized the Control Panel settings, install the widget code on your site. Youʼre now ready to go live and start engaging with visitors in real time.